Instructions
WingTite Shower Drain
See How it Works
Click Here to Watch the Video
Instructions PDF - click here to download
Recommended Tools and Materials

Removing Drain Seal - 2 Part System (Threaded Nut & Gasket Type)


Removing Drain Seal - 3 Part System (AB&A Sure Fit)


Removal of Drain Body

3. With hacksaw, make two vertical cuts approximately 1” apart through drain body. Cut completely through drain body without cutting into shower pan or scoring pipe riser.

4. Continue cutting horizontally through drain flange to weaken it, but not deep enough to damage pan.

5. Once horizontal flange is cut, use flat blade screwdriver to pry on 1” flange to break free from shower pan.

6. Remove 1” width of the drain body from pan.

7. Squeeze the shower drain to collapse it, this allows the retaining nut below shower base to drop. Nut stays below.

8. Remove shower drain from pan. Clean shower surface around drain hole, above and below the pan to insure proper seal and unrestricted wing movement.
WingTite Installation

9. Remove WingTite from package. Installation is ready to begin.

10. Apply liquid dish soap to drain O-ring as lubricant.

11. Apply a generous amount of 100% silicone to underside of WingTite drain flange.

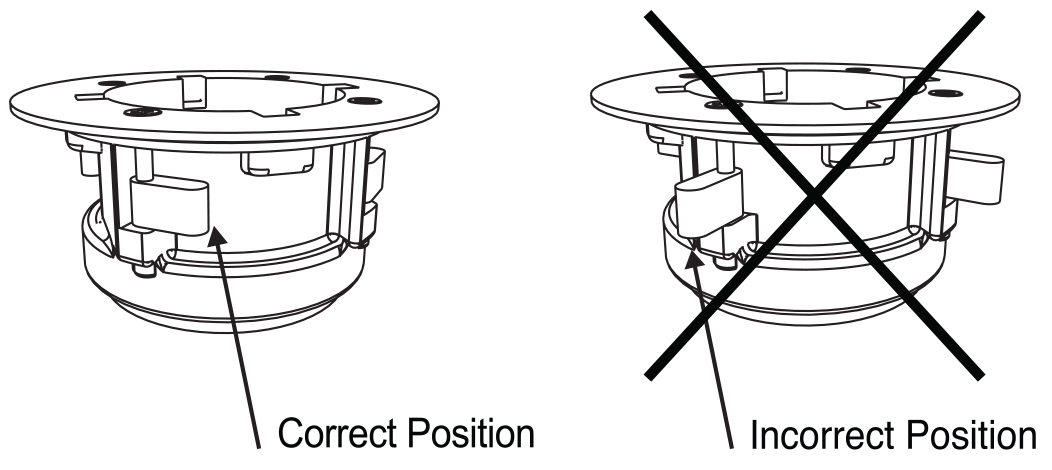
12. The four fastening wings must be against drain body at time of insertion into shower pan.

13. Insert drain into shower pan and press evenly over 2” drain pipe. Once drain has made contact with shower pan, hold firmly in place. Inspect pipe riser to ensure full contact with O-ring seal.

14. Tighten all four Phillips head wing screws evenly until drain is secure in pan. DO NOT OVER TIGHTEN!
* DO NOT TIGHTEN PHILLIPS HEAD WING SCREWS WITH POWER TOOLS !!!

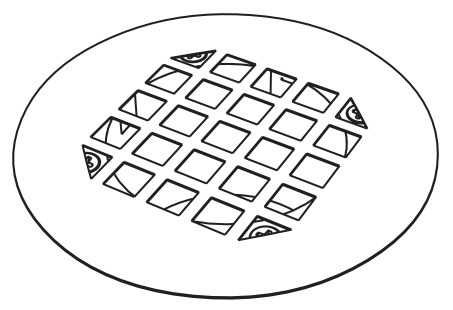
15. Clean excess silicone from drain and pan with rag. Test the shower drain and install cover.
Certain drain pipe applications require adapters. We sell adapters for the pipe sizes below.
Inside Coupling
For 2” ABS and PVC PipeBuy Now

Adaptor Kits
1-1/2” DWV Galvanized
Pipe Adapter
Buy Now

Pipe Adapter


